How To Print Banners On Your Sharp MFP
Step One: Putting the MFP into banner mode
In order to print banners the MPF bypass tray has to be set to the correct banner paper size.
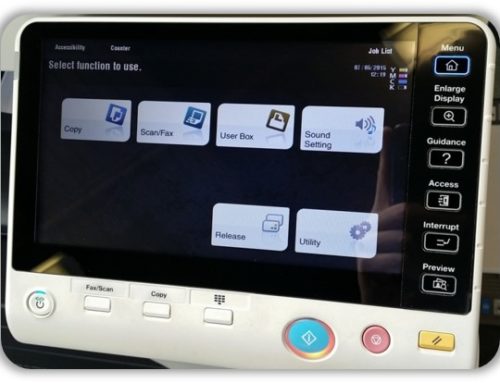
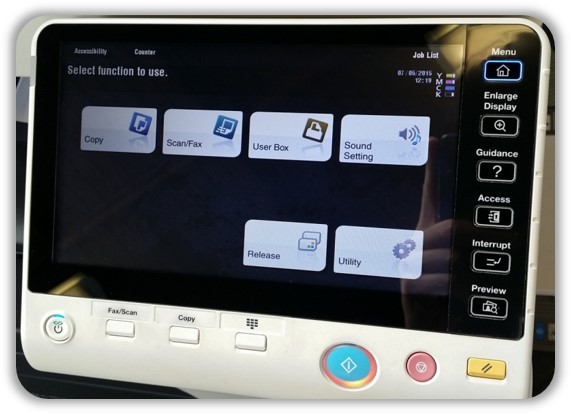
At the device, press the ‘Home’ button located to the right of the touch panel, then press the ‘Copy’ button to put the MFP into Copy mode.
Press ‘Paper Select’
Select ‘Type and size’
Press the ‘Size’ tab, then press the ‘Direct Entry’ button, located at the bottom left of the screen.
Input the correct banner paper dimensions into the ‘X’ and ‘Y’ boxes. Banner paper is 1200(X) x 297(Y)
Select ‘OK’ twice.
The MFP is now ready to receive banner print jobs.
Step Two: Printing the banner
Now the MFP has the correct bypass paper tray settings we are ready to send the banner print job.
At your PC, open the banner document and go to print it. Once the printing window opens select ‘Properties’
Select the ‘paper’ tab, then press the drop down menu under ‘Paper Size’. Select ‘Long Paper’ from the drop down list located at the bottom.
Select ‘Custom’ and input the correct banner paper dimensions into the ‘X’ and ‘Y’ boxes. Banner paper is 1200(X) x 297(Y).
Press OK on the paper size window and then on the printer properties window.
Once you are ready to print select ‘Print’.
Step Three: Loading the paper
Now the print driver is set up and the MFP is in Banner Printing Mode, we are ready to load the paper and print.
The Banner paper must be fed into the bypass tray.
Please ensure the paper sits straight in order to eliminate any skew.
Make sure the banner paper is supported as it is fed into the MFP.
Once the paper is fed into the bypass tray the MFP will begin printing.