Konica: Making Booklets On Your Konica Minolta MFP
Option One: Using the copy function at the device
Place your documents face up in the document feeder in page order.
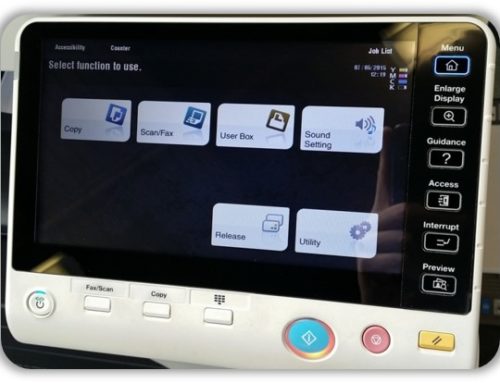
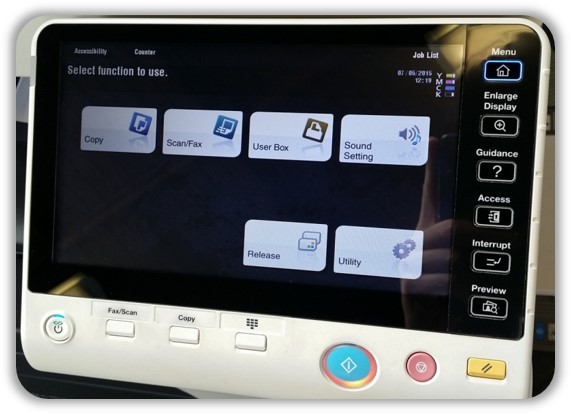
Enter Copy mode by pressing the ‘Copy’ button below the touch panel.
Select the paper tab, and select the paper size you would like to use. Use A3 paper for an A4 sized booklet, use A4 for an A5 sized booklet.
Select the ‘Finishing’ tab, then press on ‘Fold and Bind’.
Select the ‘Centre Staple and Fold’ option, then press ’OK’. Press the blue start button to produce your booklets.
Please note; in order to create booklets on A4 paper it needs to be loaded in the landscape orientation in the paper cassette.
Option Two: From your PC using the print driver
Open the document you wish to print as a booklet and go to print it.
Once the printing window opens, click on ‘Properties’.
On the initial ‘My Tab’, press the drop down menu button below ‘Paper Size’. If you are printing an A4 booklet select A3, if you are printing an A5 booklet, select A4. Then press the drop down menu under ‘Print Type’ and select ‘Booklet’ from the list.
Select the ‘Finish’ tab, tick the box next to ‘Centre Staple and Fold’ and press ‘OK’
Select ‘Print’ to send your booklets to the MFP.
Please note, in order to create booklets on A4 paper it needs to be loaded in the landscape orientation in the paper cassette.